Build your own bio-ethanol fireplace - roadmap and what you need to know
Installing your own bio-ethanol burner yourself may sound complicated, but it certainly isn't if you have the right information and knowledge. In this article we will explain to you how you can best install a bio-ethanol burner and what you should pay attention to during installation.
Please note: before you start installing your bioethanol fireplace, you must ensure that you have the correct information. It is important that you choose the right burner that is suitable for your installation. Not all burners are suitable for installation under a TV or in a cupboard, for example. The burner can also differ when it is installed in a freestanding portable fireplace. Always get advice from bioethanolhaarden.com first, so that you can be sure that you have the right burner. Before you start, read all the steps below carefully. If you have any questions, you can always contact us.
Step 1 when installing a bio-ethanol burner
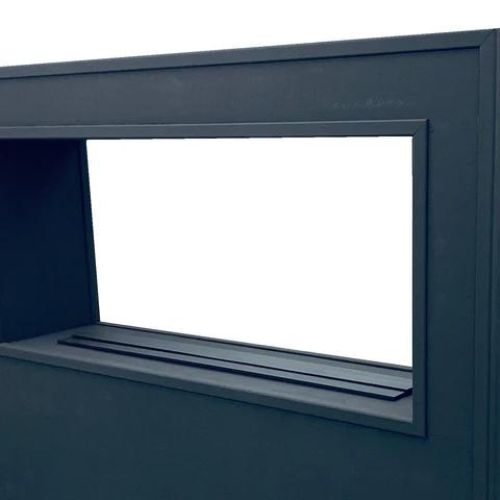
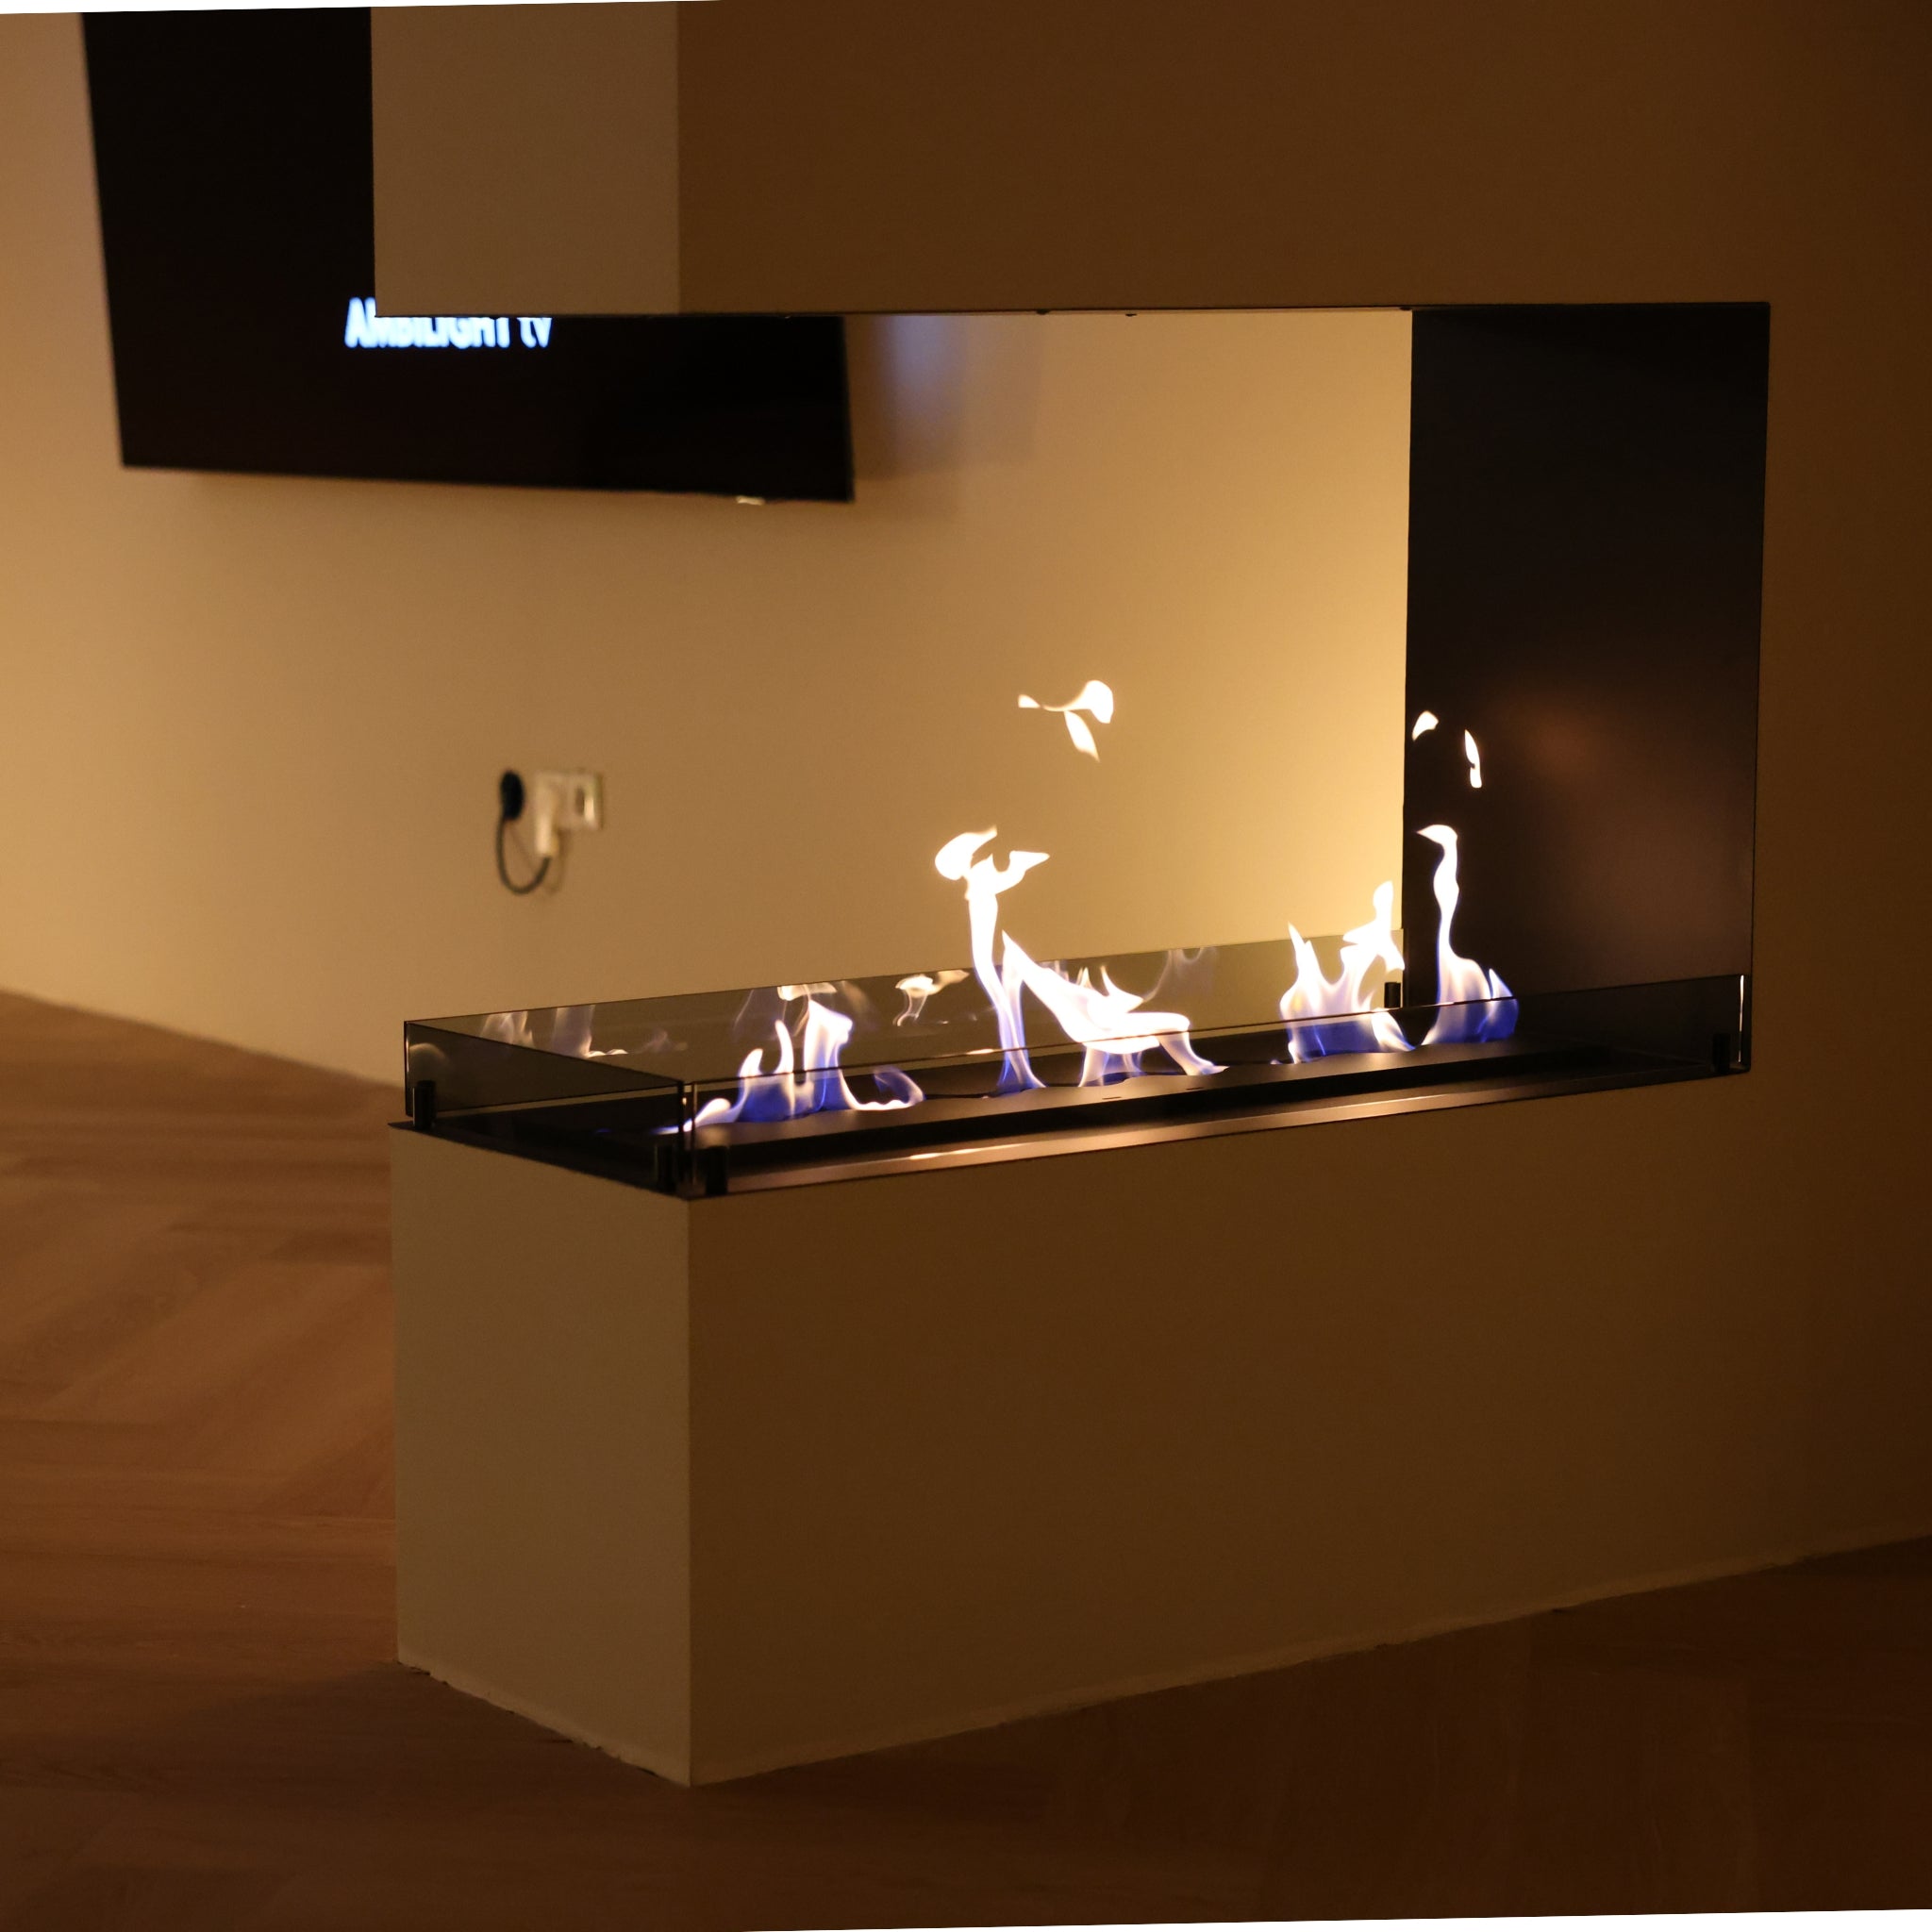
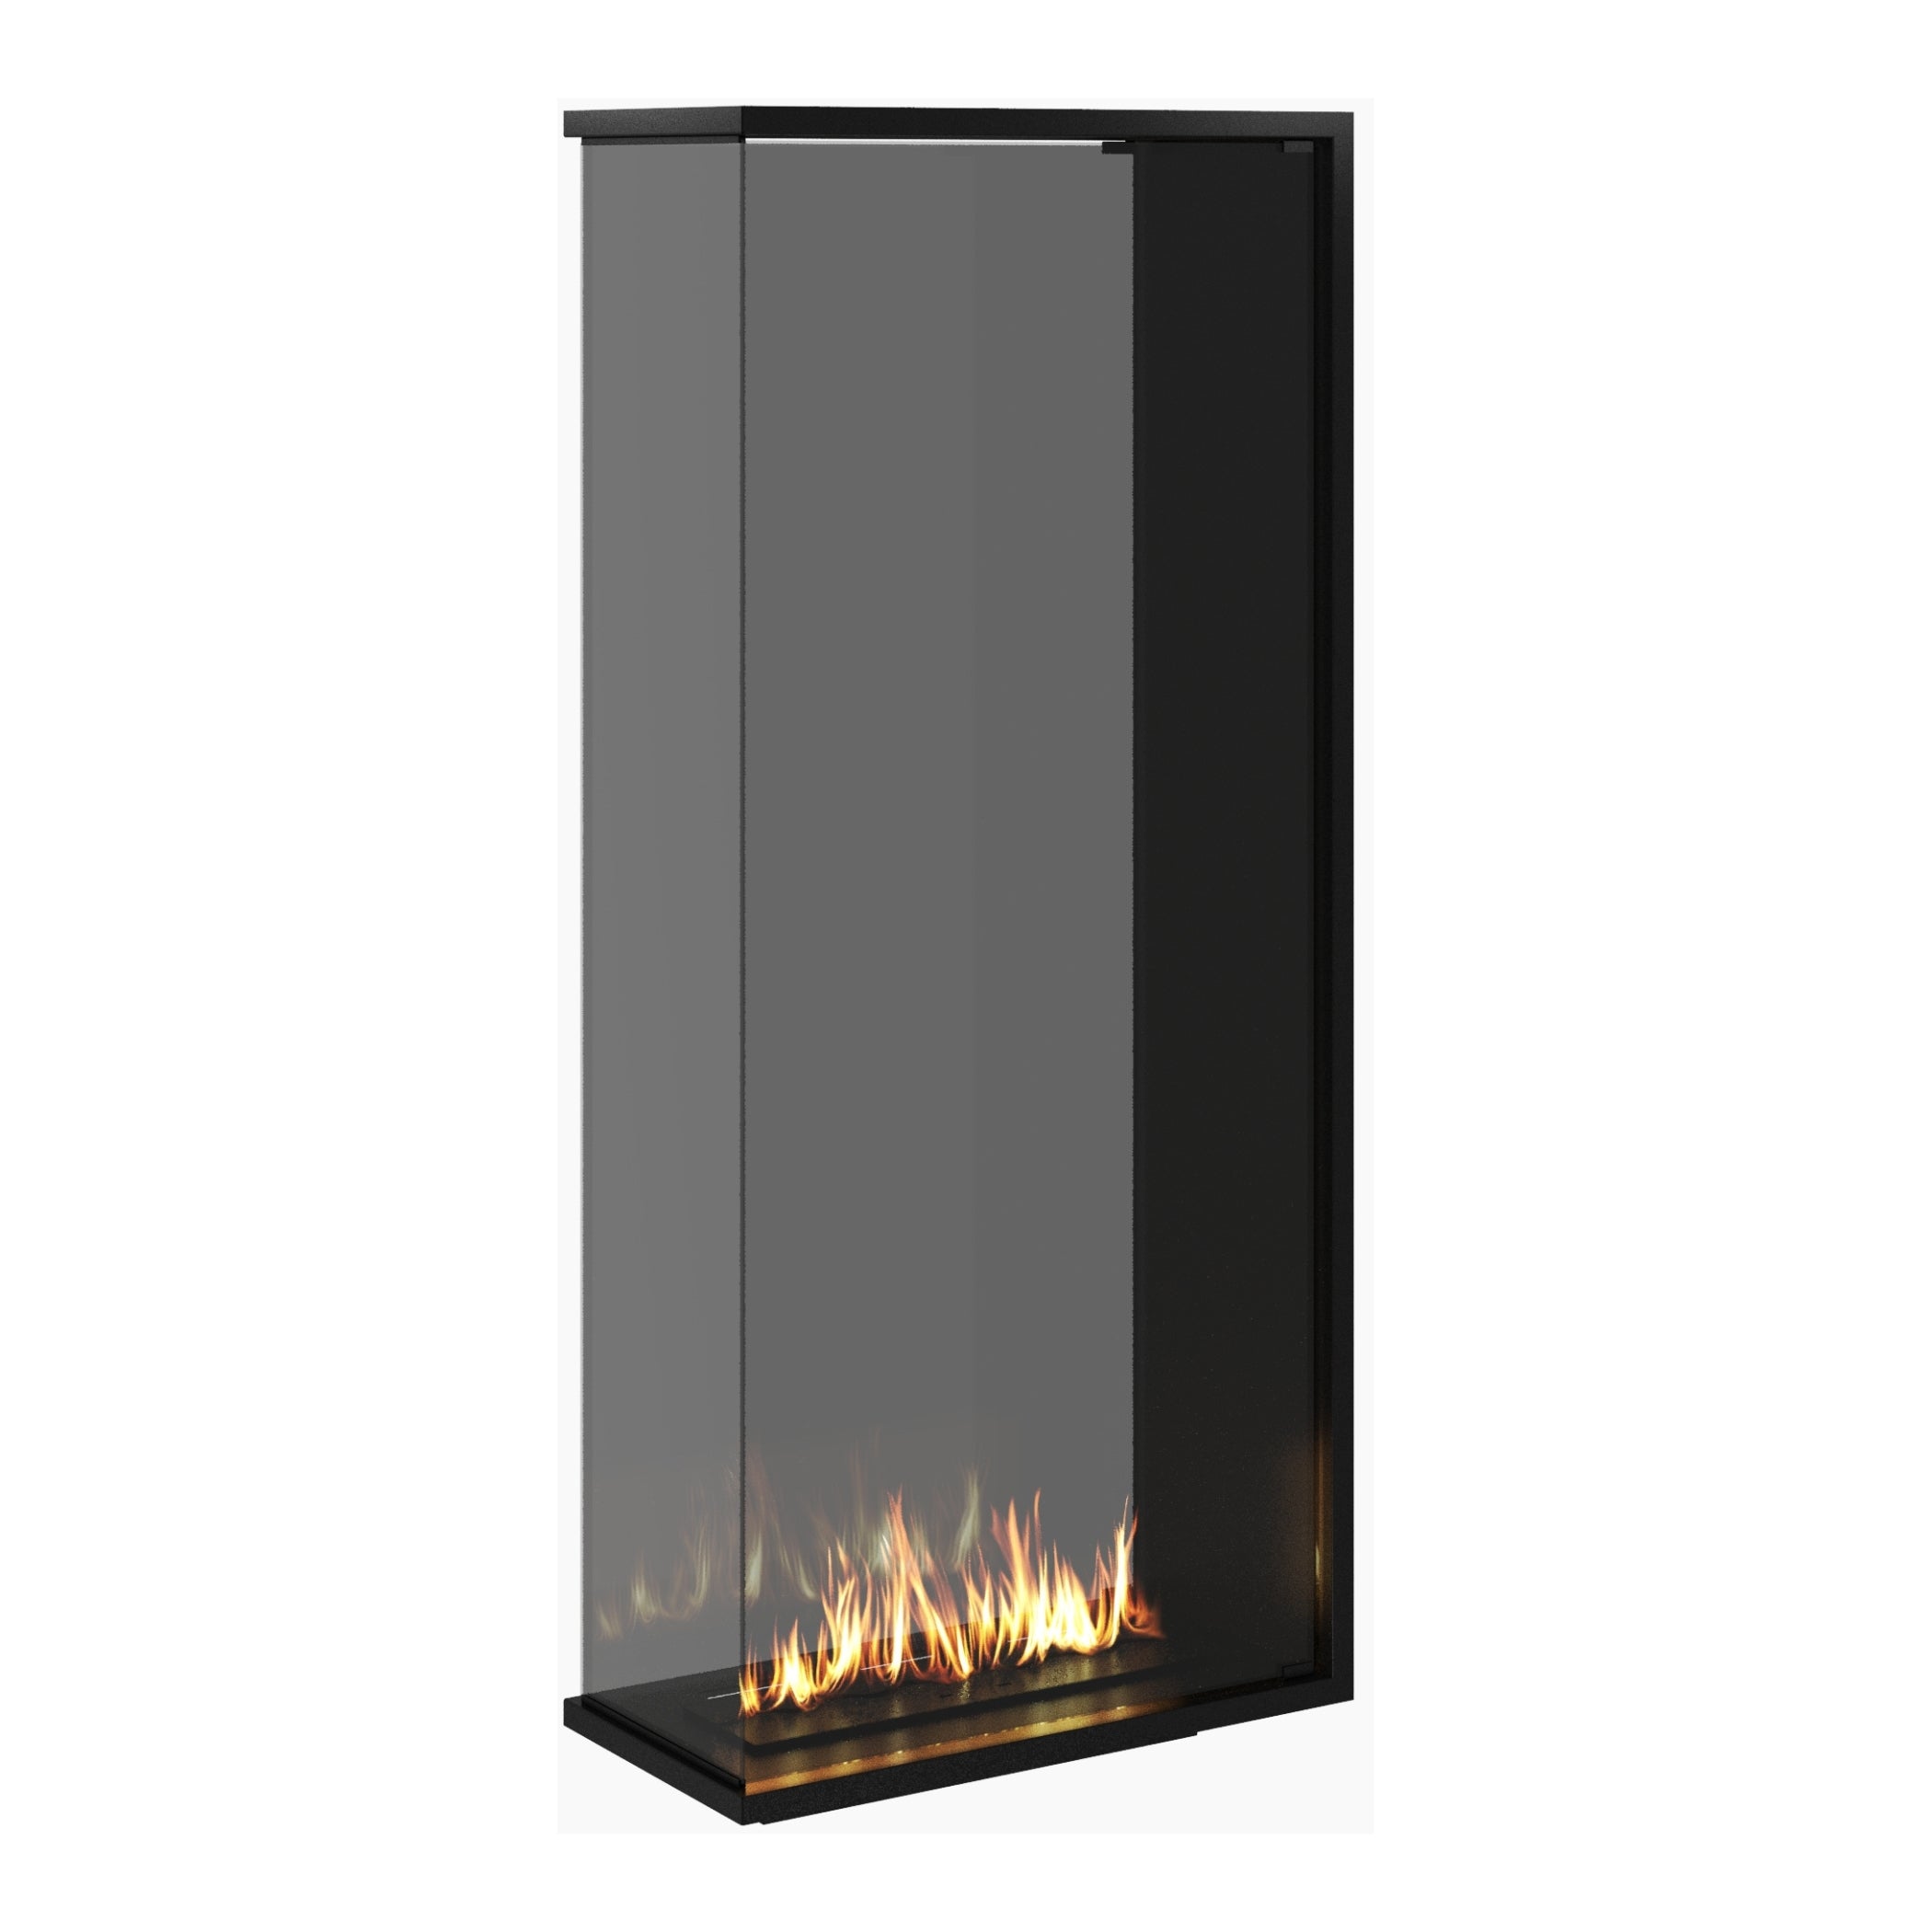
The installation starts with making two different frames for your burner. The first frame that you have to make is a frame in which your bio burner falls or can be used. In the photo (image 1) below you can see a frame in which a bio burner is placed.
Installing a bio ethanol burner
The second frame that you need to build is the so-called support frame. When making a support frame it is very important that the burner does not float. The burner must always rest on something. In addition, the burner must fit into the frame to the nearest millimeter. There should be no space between the frame and the burner. You can choose whether you place the burner in the middle of your frame or more at the front. We advise you to place the burner slightly more on the outside of the fireplace insert, because in this way the flames spread better, for a better result.
When building the frame, you must take into account a minimum distance of 10 centimeters on all sides (sides, front and back). If you opt for a frame of 120 centimeters, you will therefore use a bio-ethanol burner for 100 centimeters.
Install bioburner
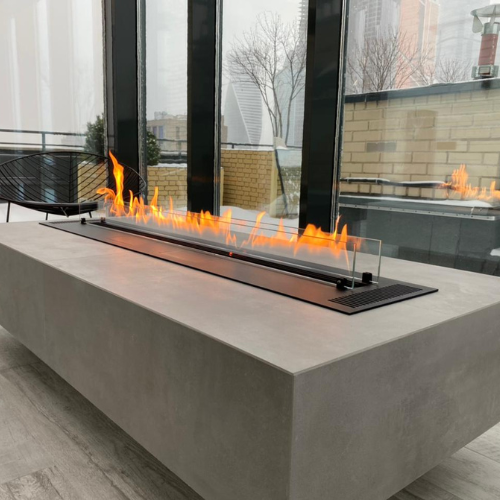
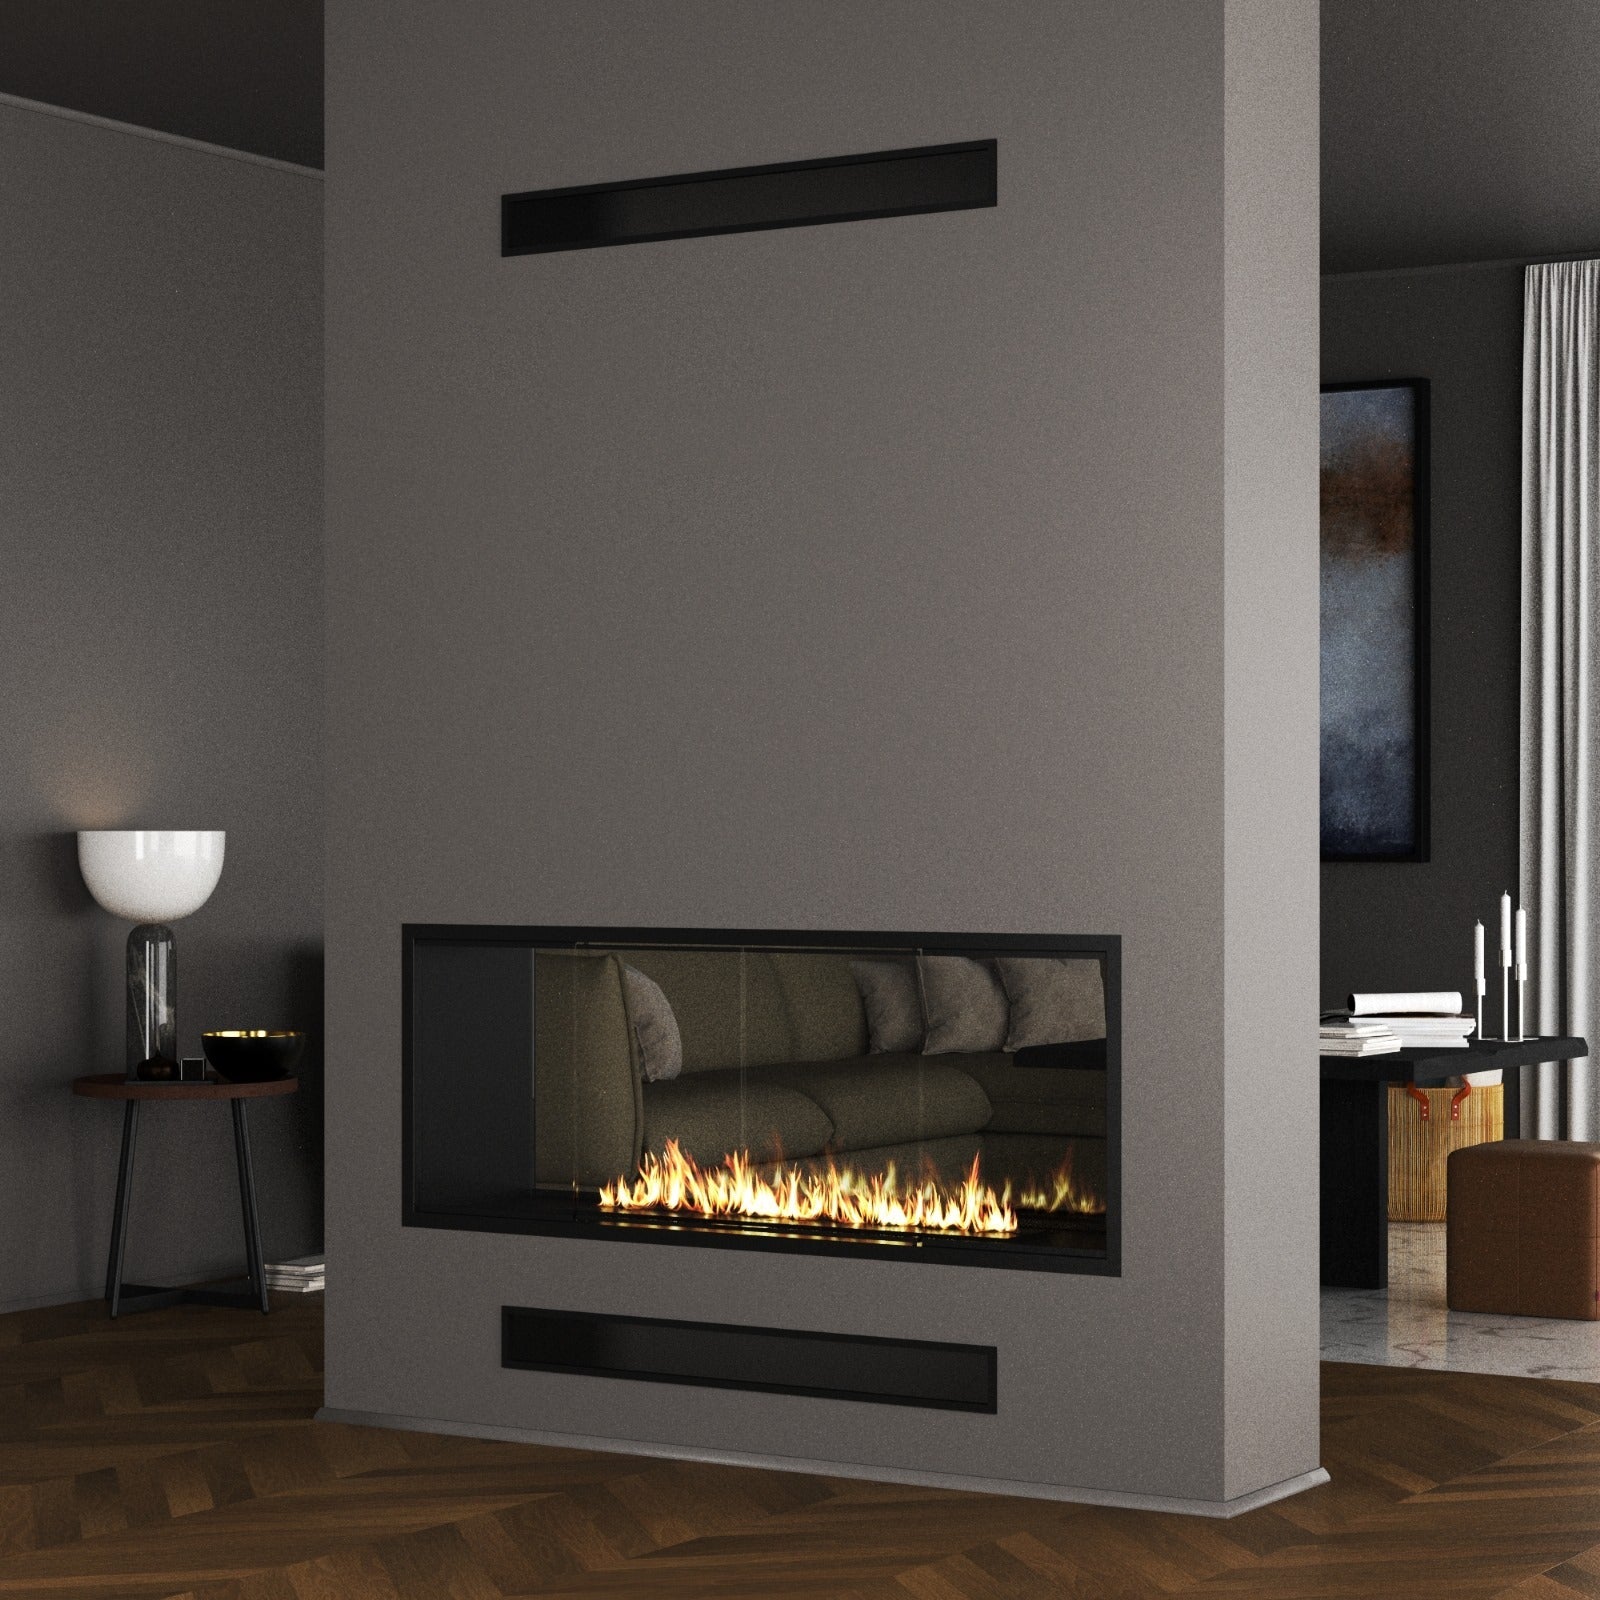
Step 2 to take into account when installing a bio-ethanol burner (the dimensions) Make sure you take the height, length and depth into account. We recommend that you always opt for a minimum height of 50 centimeters. For an even better result, choose a height of 60 centimeters. As mentioned before, there must be at least 10 centimeters of space on all sides, as in the photo below. The best result is obtained at a distance of 20 centimeters (better result in flames), but a minimum of 10 centimeters is required.
The minimum depth of the burner is 30 centimeters. However, we advise you to opt for 40 centimeters. This also gives you a better result of the eventual bio-ethanol flames.
Step 3 use heat resistant materials!
One of the most important parts is that you use heat-resistant materials. Think of heat-resistant plasterboard, blocks and paint. Make sure everything is screwed on carefully and check your own work. After this you can start plastering your frame for a smooth and sleek appearance.
You can seal the sides with heat-resistant sealant (very important). If you use a normal sealant, you will eventually get cracks in your sealant due to the heat.
Finally, it is very important to make a grate on the front or on the sides of the fireplace insert. The heat must be able to vent to the outside.
Step 4 the paint
You can determine your own color and paint. It is important that you are sure that you choose a heat-resistant paint for safety. After painting, allow the paint to dry for at least 24 hours before installing the burner.
Do you have questions about installing your own bio-ethanol burner or choosing your materials? Let us know by filling in the contact form or by calling us on 06-15316100

